How to Create an Internal Android WebView in KivyMD Using Pyjnius
bigsansar | May 27, 2026
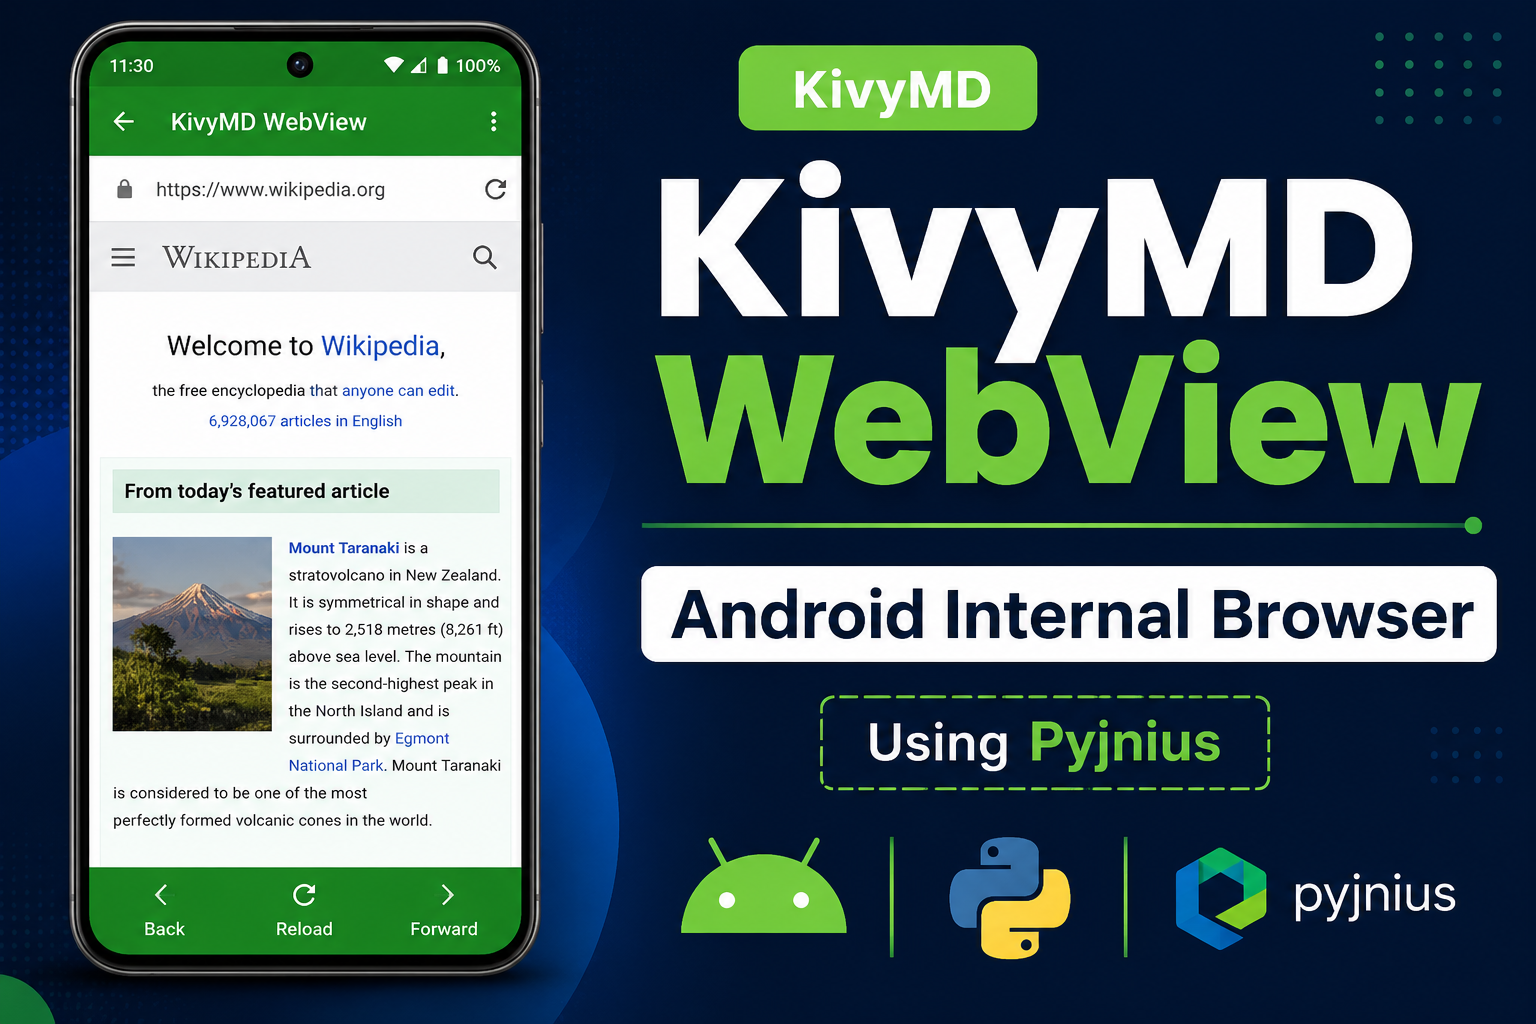
Modern mobile applications often display websites directly inside the app instead of opening an external browser like Chrome. Social media apps, payment apps, news apps, and dashboards commonly use this approach to provide a smoother user experience.
If you are developing an Android application using KivyMD, one of the most reliable ways to achieve this is by using Android’s native WebView through pyjnius.
This method allows websites to open inside the application while still keeping the rest of the interface built with Python and KivyMD.
What is Android WebView?
Android WebView is a native Android component that works like a small embedded browser inside an application.
It can be used for:
- Login pages
- Payment gateways
- Help centers
- Dashboards
- Blogs
- Documentation pages
- Internal websites
Instead of sending users to an external browser, WebView keeps everything inside the app.
Why Use Native WebView in KivyMD?
Kivy and KivyMD do not provide an official built-in WebView widget. Some older third-party packages exist, but many are outdated or have compatibility issues with newer Android versions.
Because of this, many developers prefer using Android’s native WebView directly.
Major Advantages
Better Performance
Native Android WebView is optimized by Android itself and usually performs better than unofficial alternatives.
JavaScript Support
Modern websites rely heavily on JavaScript. Native WebView handles JavaScript properly.
Improved Compatibility
Most modern websites work more reliably compared to older Kivy webview packages.
Better Android Integration
Since it uses Android’s own WebView system, navigation and rendering behave more naturally.
Internal Browser Experience
Users remain inside the app instead of switching to another browser.
Important Facts Before Using This Method
This Method is Android-Only
Because this approach uses Android native APIs, it works only on Android devices.
| Platform | Support |
|---|---|
| Android | Supported |
| Windows | Not Supported |
| Linux | Not Supported |
| macOS | Not Supported |
| iOS | Not Supported |
UI Thread is Required
Android UI components must run on the Android UI thread.
That is why the following decorator is necessary:
@run_on_ui_thread
Without it, the application may crash, or the WebView may fail to render correctly.
Required Tools and Libraries
Before starting, you should already have:
- Kivy
- KivyMD
- Buildozer
pyjnius
installed and configured.
Buildozer Configuration
Inside the buildozer.spec file, internet permission is required.
requirements = python3,kivy,kivymd,pyjnius

android.permissions = INTERNET
Without the Without INTERNET permission, websites will not load.
Complete Working Example
The following example creates:
- An internal Android WebView
- JavaScript support
- Back navigation support
- Internal browsing without opening Chrome
from jnius import autoclass
from android.runnable import run_on_ui_thread

from kivy.app import App
from kivy.uix.boxlayout import BoxLayout
from kivy.uix.button import Button


# Android Classes
PythonActivity = autoclass('org.kivy.android.PythonActivity')
WebView = autoclass('android.webkit.WebView')
WebViewClient = autoclass('android.webkit.WebViewClient')
LinearLayout = autoclass('android.widget.LinearLayout')
LayoutParams = autoclass(
    'android.widget.LinearLayout$LayoutParams'
)

activity = PythonActivity.mActivity


class AndroidWebView(BoxLayout):

    def __init__(self, url, **kwargs):
        super().__init__(**kwargs)

        self.orientation = "vertical"
        self.url = url

        # Back Button
        back_btn = Button(
            text="Back",
            size_hint_y=None,
            height=60
        )

        back_btn.bind(
            on_release=self.go_back
        )

        self.add_widget(back_btn)

        # Create WebView
        self.create_webview()

    @run_on_ui_thread
    def create_webview(self):

        # Native Android Layout
        self.native_layout = LinearLayout(activity)

        self.native_layout.setOrientation(
            LinearLayout.VERTICAL
        )

        # Create WebView
        self.webview = WebView(activity)

        # Enable JavaScript
        settings = self.webview.getSettings()

        settings.setJavaScriptEnabled(True)

        # Prevent external browser opening
        self.webview.setWebViewClient(
            WebViewClient()
        )

        # Load Website
        self.webview.loadUrl(self.url)

        # Layout Size
        params = LayoutParams(
            LayoutParams.MATCH_PARENT,
            LayoutParams.MATCH_PARENT
        )

        # Add WebView
        self.native_layout.addView(
            self.webview,
            params
        )

        # Add Layout to Activity
        activity.addContentView(
            self.native_layout,
            params
        )

    @run_on_ui_thread
    def go_back(self, *args):

        if self.webview.canGoBack():
            self.webview.goBack()


class MainApp(App):

    def build(self):

        return AndroidWebView(
            "https://www.google.com"
        )


if __name__ == "__main__":
    MainApp().run()
Understanding the Important Parts
Accessing Android Classes
autoclass()
allows Python code to access Android Java classes through pyjnius.
Creating the WebView
self.webview = WebView(activity)
creates Android’s native embedded browser.
Enabling JavaScript
settings.setJavaScriptEnabled(True)
This is important because many modern websites depend on JavaScript.
Keeping Navigation Inside the App
self.webview.setWebViewClient(
    WebViewClient()
)
Without this line, links may open in Chrome or another external browser.
Adding Back Navigation
if self.webview.canGoBack():
    self.webview.goBack()
This allows users to navigate backward through previously opened pages.
Limitations of This Method
Although this method is practical and stable, there are still some limitations.
WebView is Not a Native Kivy Widget
The WebView is rendered by Android itself, not by Kivy.
Because of this:
- Some Kivy animations may not overlap properly
- Z-index behavior may differ
- Certain widgets can appear behind the WebView
This behavior is normal for native Android components.
Features You Can Add Later
For more advanced applications, developers often add:
- Reload button
- Forward navigation
- URL bar
- Loading indicator
- Error handling
- Pull-to-refresh
- Dark mode support
- File upload support
- Download manager
- Fullscreen video support
Using Android’s native WebView with pyjnius is currently one of the most reliable ways to display web content inside a KivyMD application.
It provides:
- Better compatibility
- Stable rendering
- Internal browser functionality
- Modern website support
- A more professional Android app experience
while still allowing developers to build the main interface entirely with Python and KivyMD.
0 COMMENTS:
How to Create an Internal Android WebView in KivyMD Using Pyjnius
Learn how to create an internal Android WebView in KivyMD using pyjnius. This complete tutorial exp…
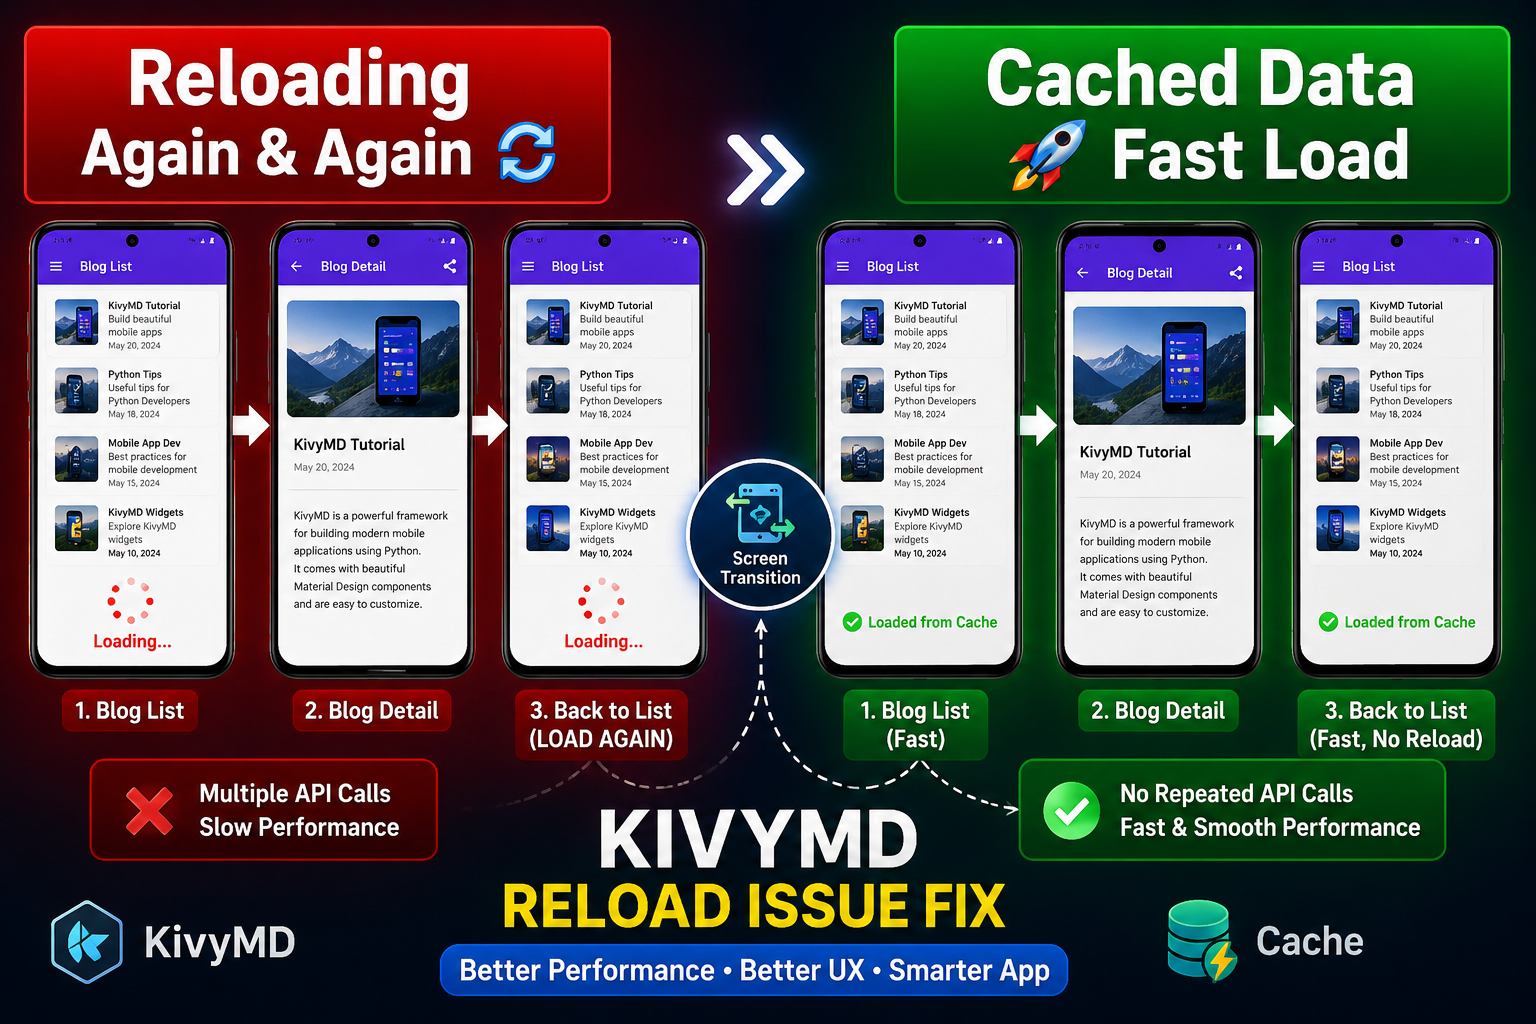
KivyMD Blog List Reload Issue Fix | Prevent Repeated API Calls Using Cache
Learn how to fix Blog List reloading issue in KivyMD when navigating back from details screen. Unde…
Git & GitHub Complete Tutorial 2026 | Learn Version Control for Beginners
Learn Git and GitHub step-by-step in this complete guide. Understand version control, branching, me…

What is %(source.dir) in Buildozer? Complete Guide for Beginners
Learn what %(source.dir) means in Buildozer and how to use it correctly. Avoid path errors and make…
Fix WSA Play Store Crash on Windows 11 (Google Play Store Closing Issue Solved)
Google Play Store closing immediately in WSA on Windows 11? Learn why it happens and how to fix it …
Fix Kivy App Crash on Android (Loading Screen Closes) – Buildozer Guide
If your Kivy or KivyMD app installs but closes after showing a loading screen, this guide explains …

VS Code .env Not Working? Fix “Environment Injection Disabled” Warning Easily
Learn why the “.env environment injection disabled” warning appears in Visual Studio Code and how t…
KivyMD MDScreen vs ScreenManager Explained | Screen Switching Guide (Python)
Learn how to use MDScreen and ScreenManager in KivyMD to build multi-screen Python apps. Understand…
Professional Windows EXE Download Page | Script-Free HTML & CSS Design
Learn how to create a professional Windows EXE download page using only HTML and CSS. Script-free, …

Build Nepali Calendar App with Python KivyMD | Android & Windows Guide
Learn how to create a Hamro Patro-style Nepali Calendar app using Python and KivyMD. Step-by-step g…